What you need
- Azure Cache for Redis (Basic, Standard, Premium, or Enterprise tier)
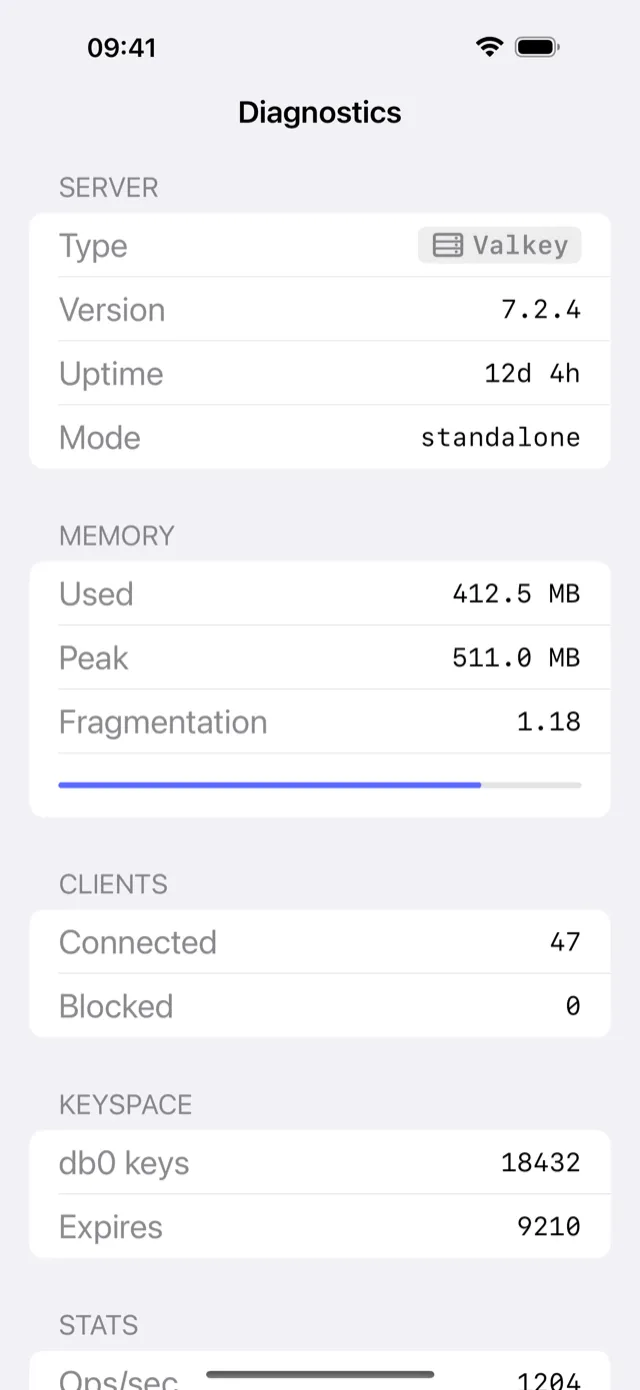
- CacheDeck, the native iPhone Redis client (App Store, iOS 17+)
- Your cache Host name and Primary key from the Azure portal
Azure Cache for Redis is a fully managed Redis service on Microsoft Azure. Unlike AWS ElastiCache (which sits inside a private VPC by default), Azure Cache for Redis exposes a public TLS endpoint out of the box, so you can connect directly from CacheDeck without a bastion host for most tiers.
Why TLS works directly on iPhone with Azure Cache
Azure Cache for Redis uses a TLS certificate issued by the DigiCert Global Root CA, which is in the iOS system trust store. That means CacheDeck can open a TLS 1.3 session to *.redis.cache.windows.net without any custom certificate import: iOS validates the chain automatically.
This is different from self-hosted Redis with a private CA, where you would need to upload your CA certificate to CacheDeck’s iOS Keychain. With Azure Cache, you just toggle TLS on and connect.
Step-by-step: connect Azure Cache for Redis from iPhone
1. Get your connection details
Open the Azure portal, navigate to your Azure Cache for Redis resource, and go to Overview. You need:
- Host name: e.g.
myredis.redis.cache.windows.net - SSL port:
6380(non-SSL port6379is disabled by default on newer caches)
2. Get your access key
In the same resource, go to Settings → Access keys. Copy the Primary key: this is a 44-character base64 string that serves as the AUTH password.
3. Create a new connection in CacheDeck
Open CacheDeck and tap +. Fill in:
| Field | Value |
|---|---|
| Host | myredis.redis.cache.windows.net |
| Port | 6380 |
| Auth Password | (primary key from step 2) |
| Use TLS | ✓ Enabled |
4. Enable TLS
Toggle Use TLS. Leave the CA Certificate field empty: iOS trusts DigiCert by default, so no upload is needed. If you see a TLS error, your cache may have a custom domain with a private certificate; in that case, export the CA cert from Azure Key Vault and import it into CacheDeck.
5. Connect
Tap Connect. CacheDeck opens a TLS session to Azure Cache, sends the AUTH command with your primary key, and loads the key browser. The full keyspace is now accessible from your iPhone.
Private Endpoint deployments (Premium tier)
If your Azure Cache for Redis uses a Private Endpoint, the public hostname resolves to a private IP inside your Azure VNet, not reachable from the internet. To connect from CacheDeck:
- Enable Use SSH Tunnel in the connection settings
- Configure a jump server (Azure VM or Azure Bastion host) with SSH access inside the same VNet
- Enter the VM’s public IP, port 22, and your SSH key
- Enable TLS as described above
CacheDeck will open the SSH tunnel first, then connect to the private endpoint through the tunnel. Both the SSH session and the TLS layer are active simultaneously.
Azure Cache tiers and what to expect
| Tier | Public endpoint | TLS required | Private Endpoint |
|---|---|---|---|
| Basic | Yes | Optional (enforced by default) | No |
| Standard | Yes | Optional (enforced by default) | No |
| Premium | Yes | Optional (enforced by default) | Optional |
| Enterprise | Yes | Required | Optional |
For Enterprise tier with Redis Cluster mode enabled: CacheDeck connects with full slot routing and displays the cluster topology. Enter any node endpoint: CacheDeck discovers the full cluster via CLUSTER SHARDS automatically.
Production safety on Azure Cache
Azure Cache for Redis in production is just as dangerous as any Redis server: an accidental FLUSHDB will clear the entire cache. CacheDeck auto-detects production connections: if your connection name or hostname contains prod, production, or prd, CacheDeck tags it PROD and requires an extra confirmation tap before any write command.
Name your Azure Cache connections clearly (e.g. myapp-prod-redis) and CacheDeck’s safety classifier will catch it automatically.
Troubleshooting
“Connection refused” on port 6380: check that your Azure Cache resource has TLS port enabled (it is by default). If you disabled it manually, re-enable it in Settings → Advanced settings → Non-SSL port.
AUTH error: double-check the primary key. Note that the connection string in Azure portal includes the full DSN (myredis.redis.cache.windows.net:6380,password=<key>,ssl=True); you need only the key itself, not the full string.
TLS certificate error: your cache may use a custom domain with a certificate from a non-DigiCert CA. Export the CA certificate from Azure Key Vault, save it as a .cer or .pem file, and import it into CacheDeck under TLS → CA Certificate.
Private Endpoint: host resolves to private IP. If the hostname does not resolve from the internet, you need an SSH tunnel. See the Private Endpoint section above.
Related guides
- Azure Cache for Redis landing page: tier table, Private Endpoint setup
- How to connect Redis with TLS from iPhone: mTLS, custom CAs, iOS Keychain
- SSH tunnel to Redis from iPhone: step-by-step for bastion-hosted servers
- AWS ElastiCache on iPhone: VPC + SSH tunnel setup
- Upstash Redis on iPhone: serverless Redis with TLS
- Full CacheDeck feature overview